Powering it On
Every team has one or more Rover(s) designated to them throughout the project. All Rovers can be identified by their index: a number between 1 and 20 which you will find on the top plate of the Rover and its camera holder. Make sure you know the index of the Rover that you want to connect to before you continue.

Elias Groot
Founding Member, Ex-Software Lead and Ex-Project Administrator

Max Gallup
Founding Member, Ex-Hardware Lead and Ex-Project Administrator
Open the battery cage and slide in the battery. The connector cable should be at the left side. Put the battery door back to close the cage. The connector cables should stick out above the battery door. Extra force is not necessary to get the battery or battery door in place.
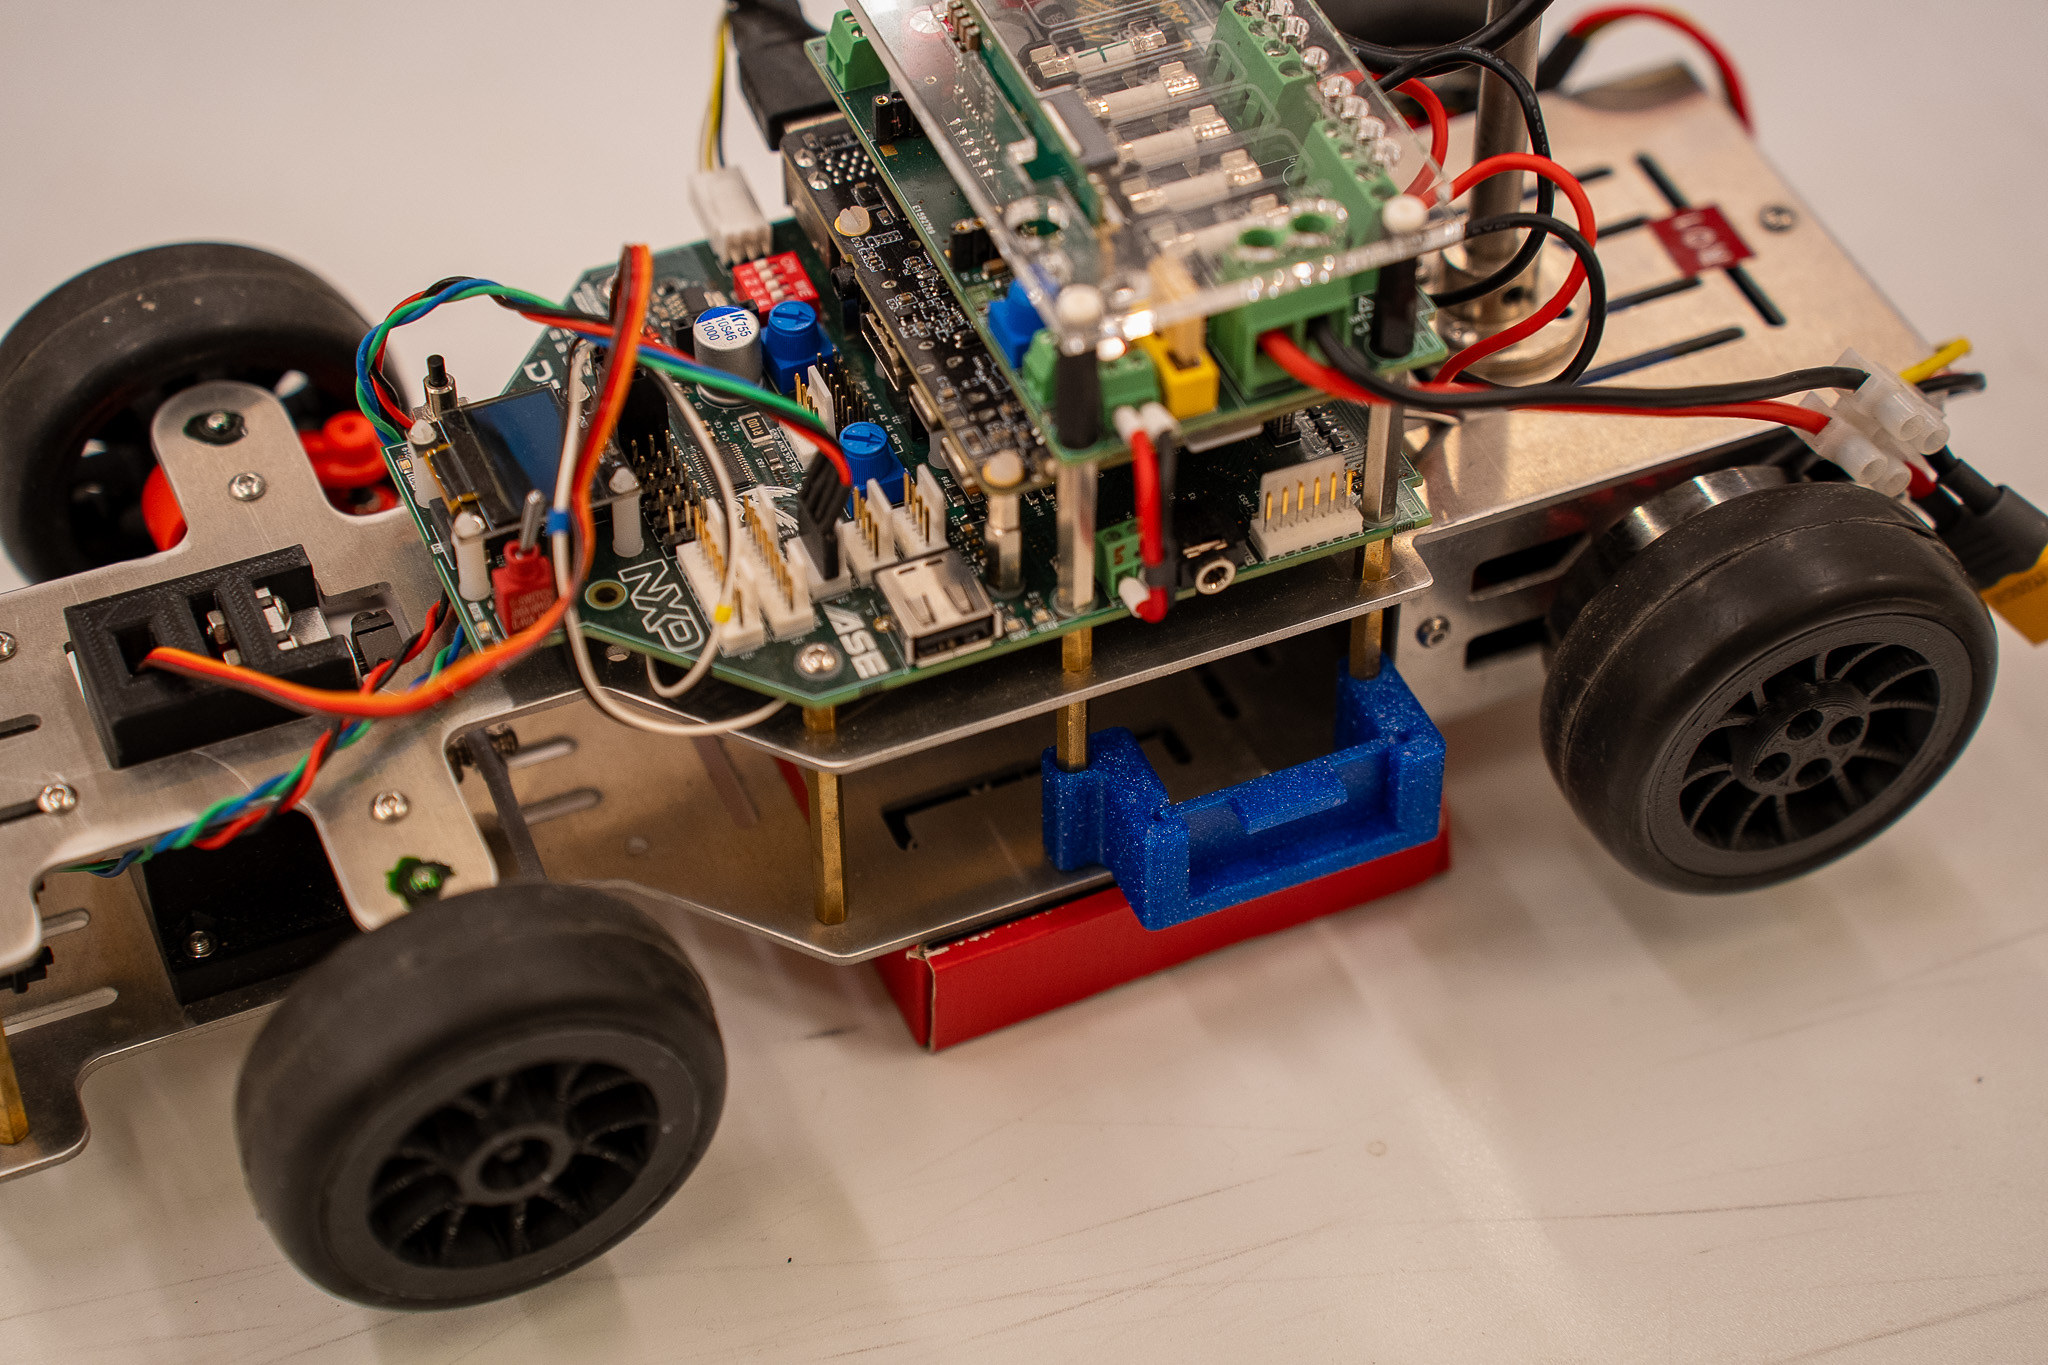
1 Put the Rover on its stand
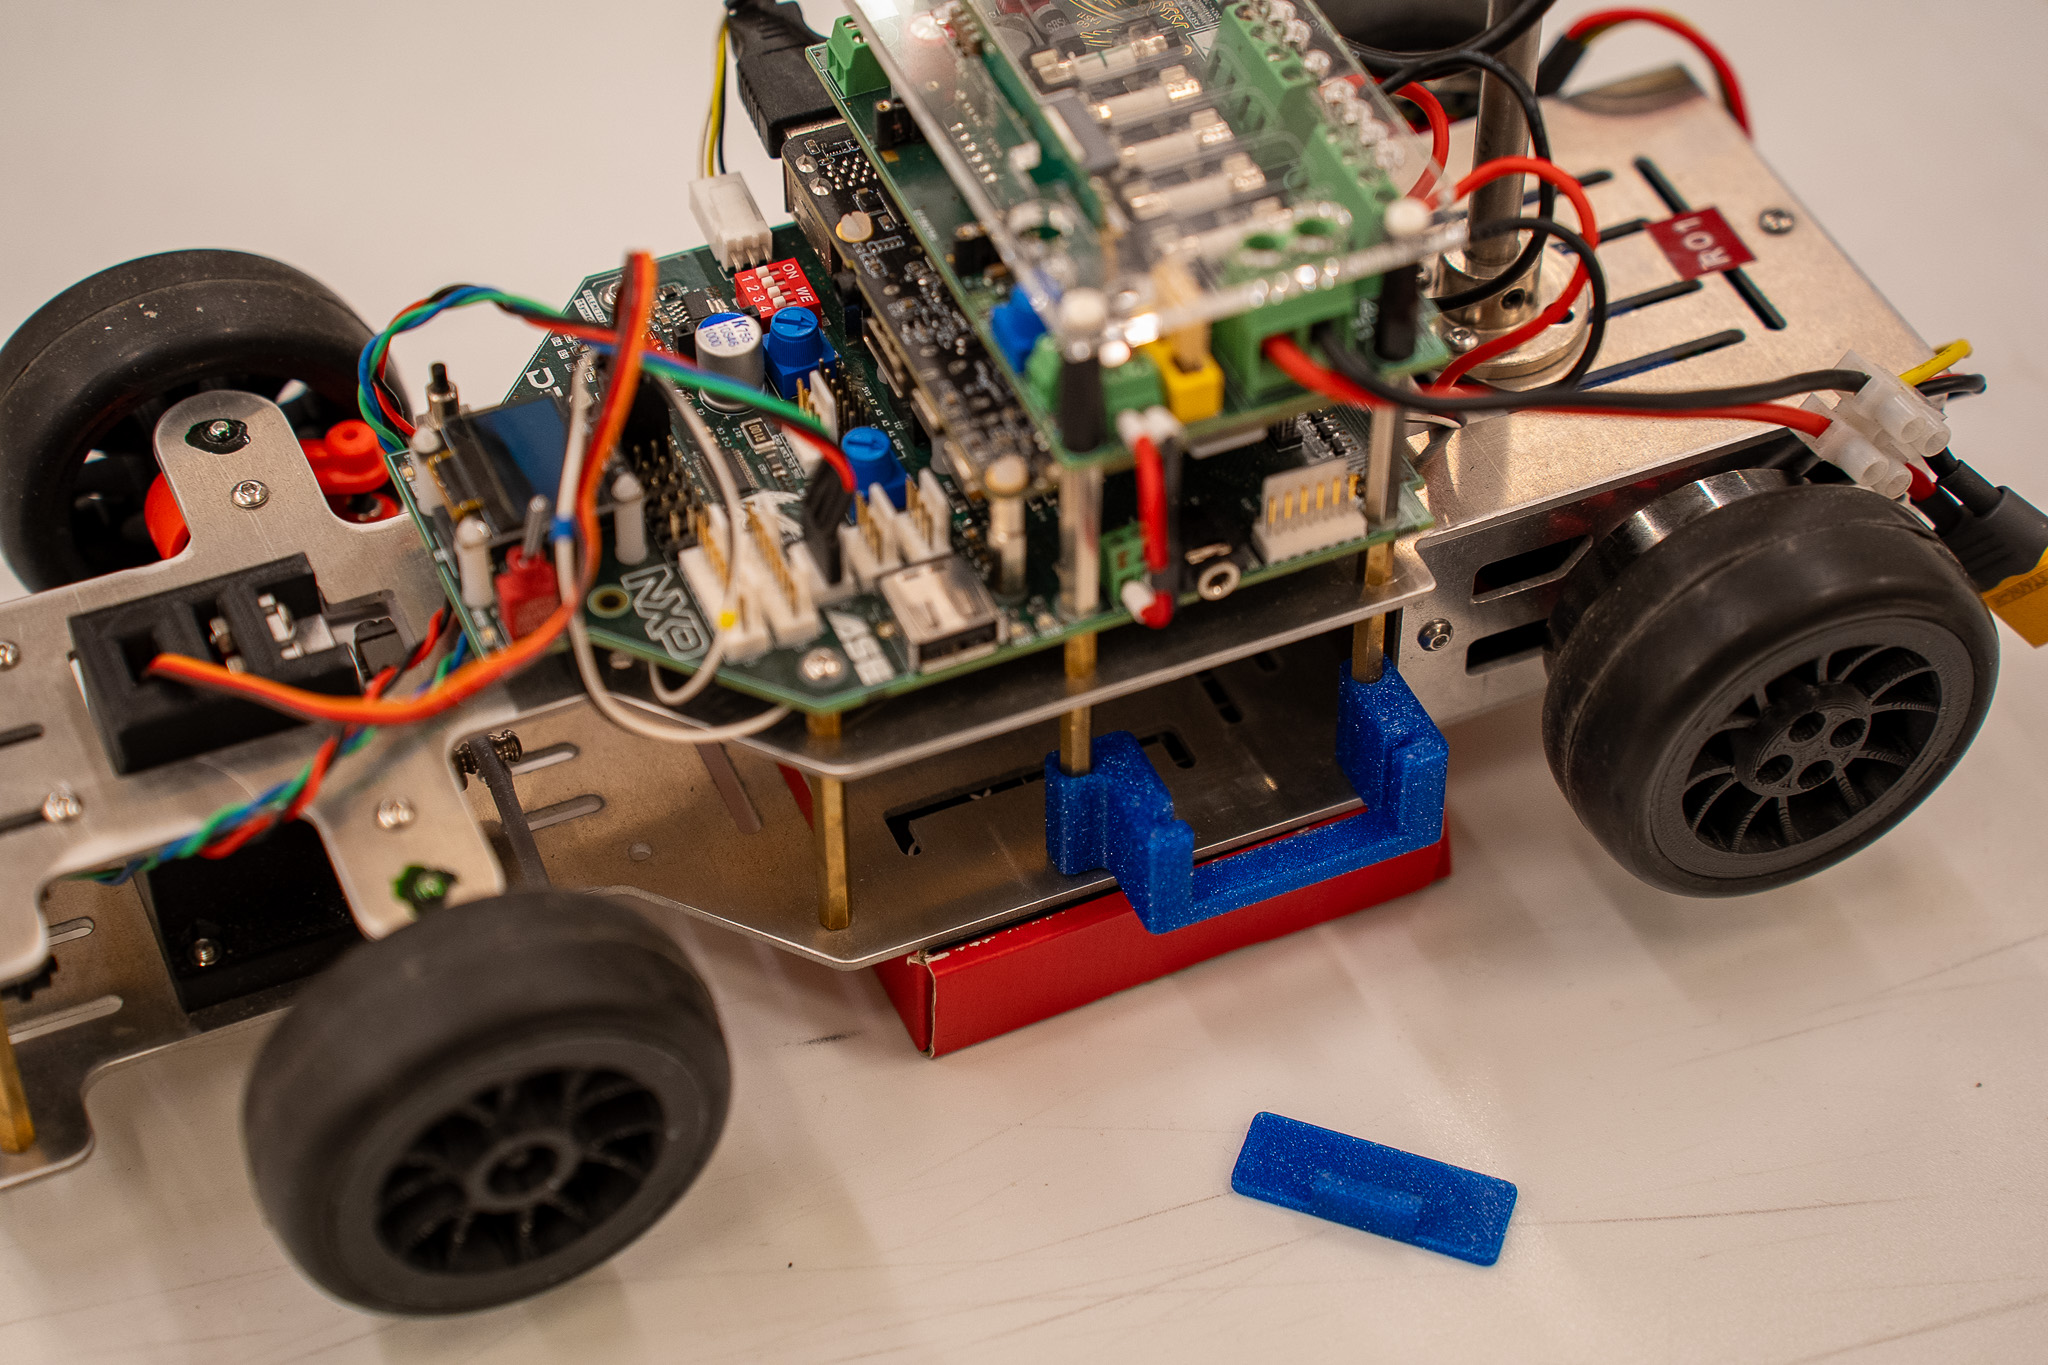
2 Take off the battery door
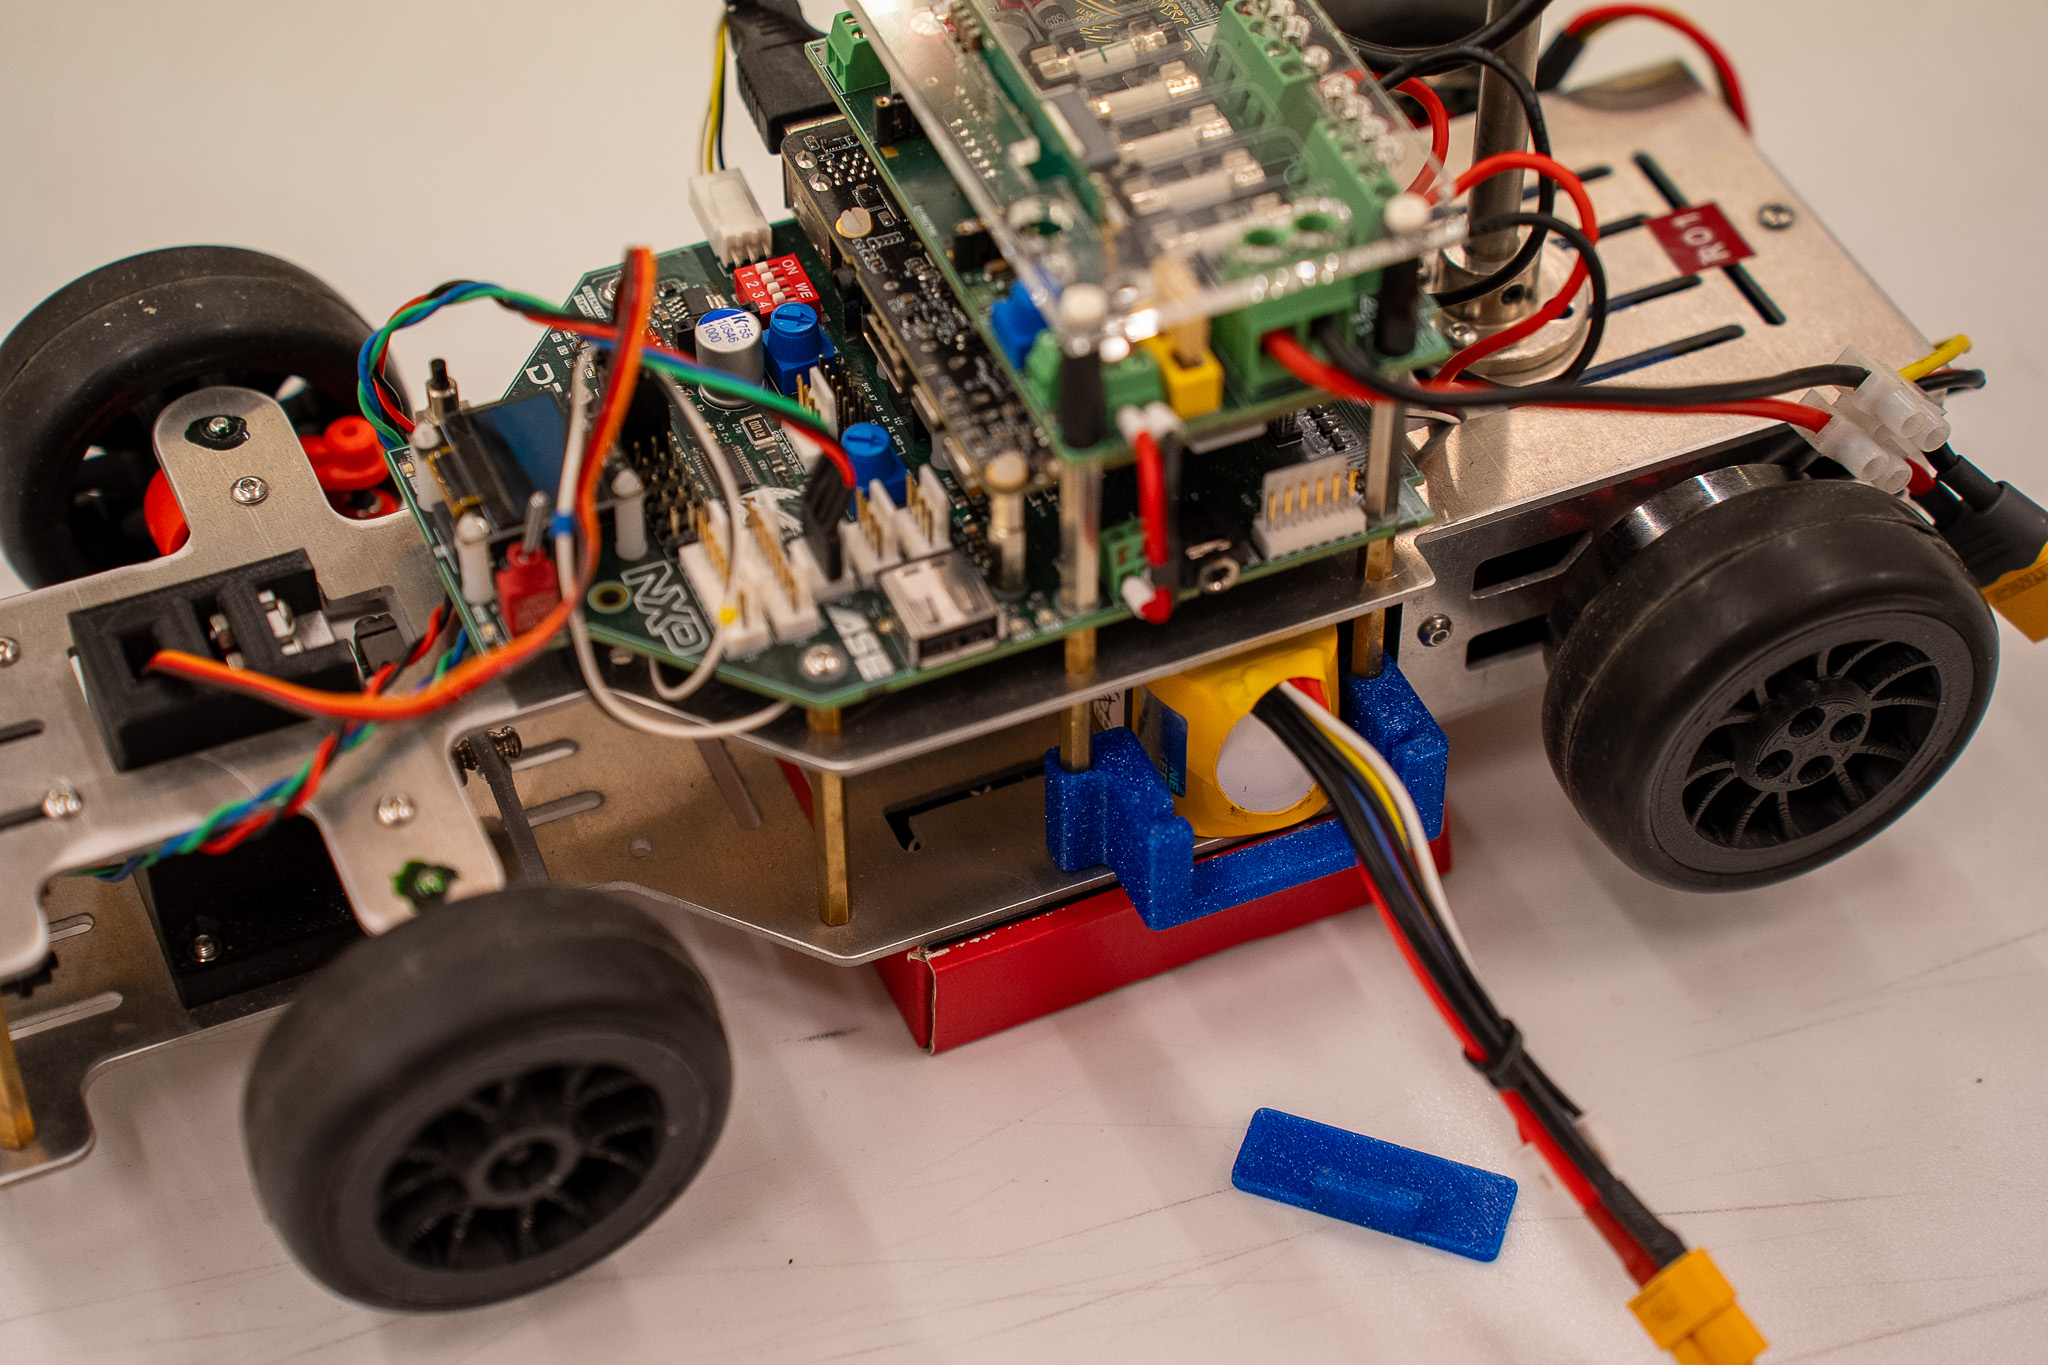
3 Slide in the battery
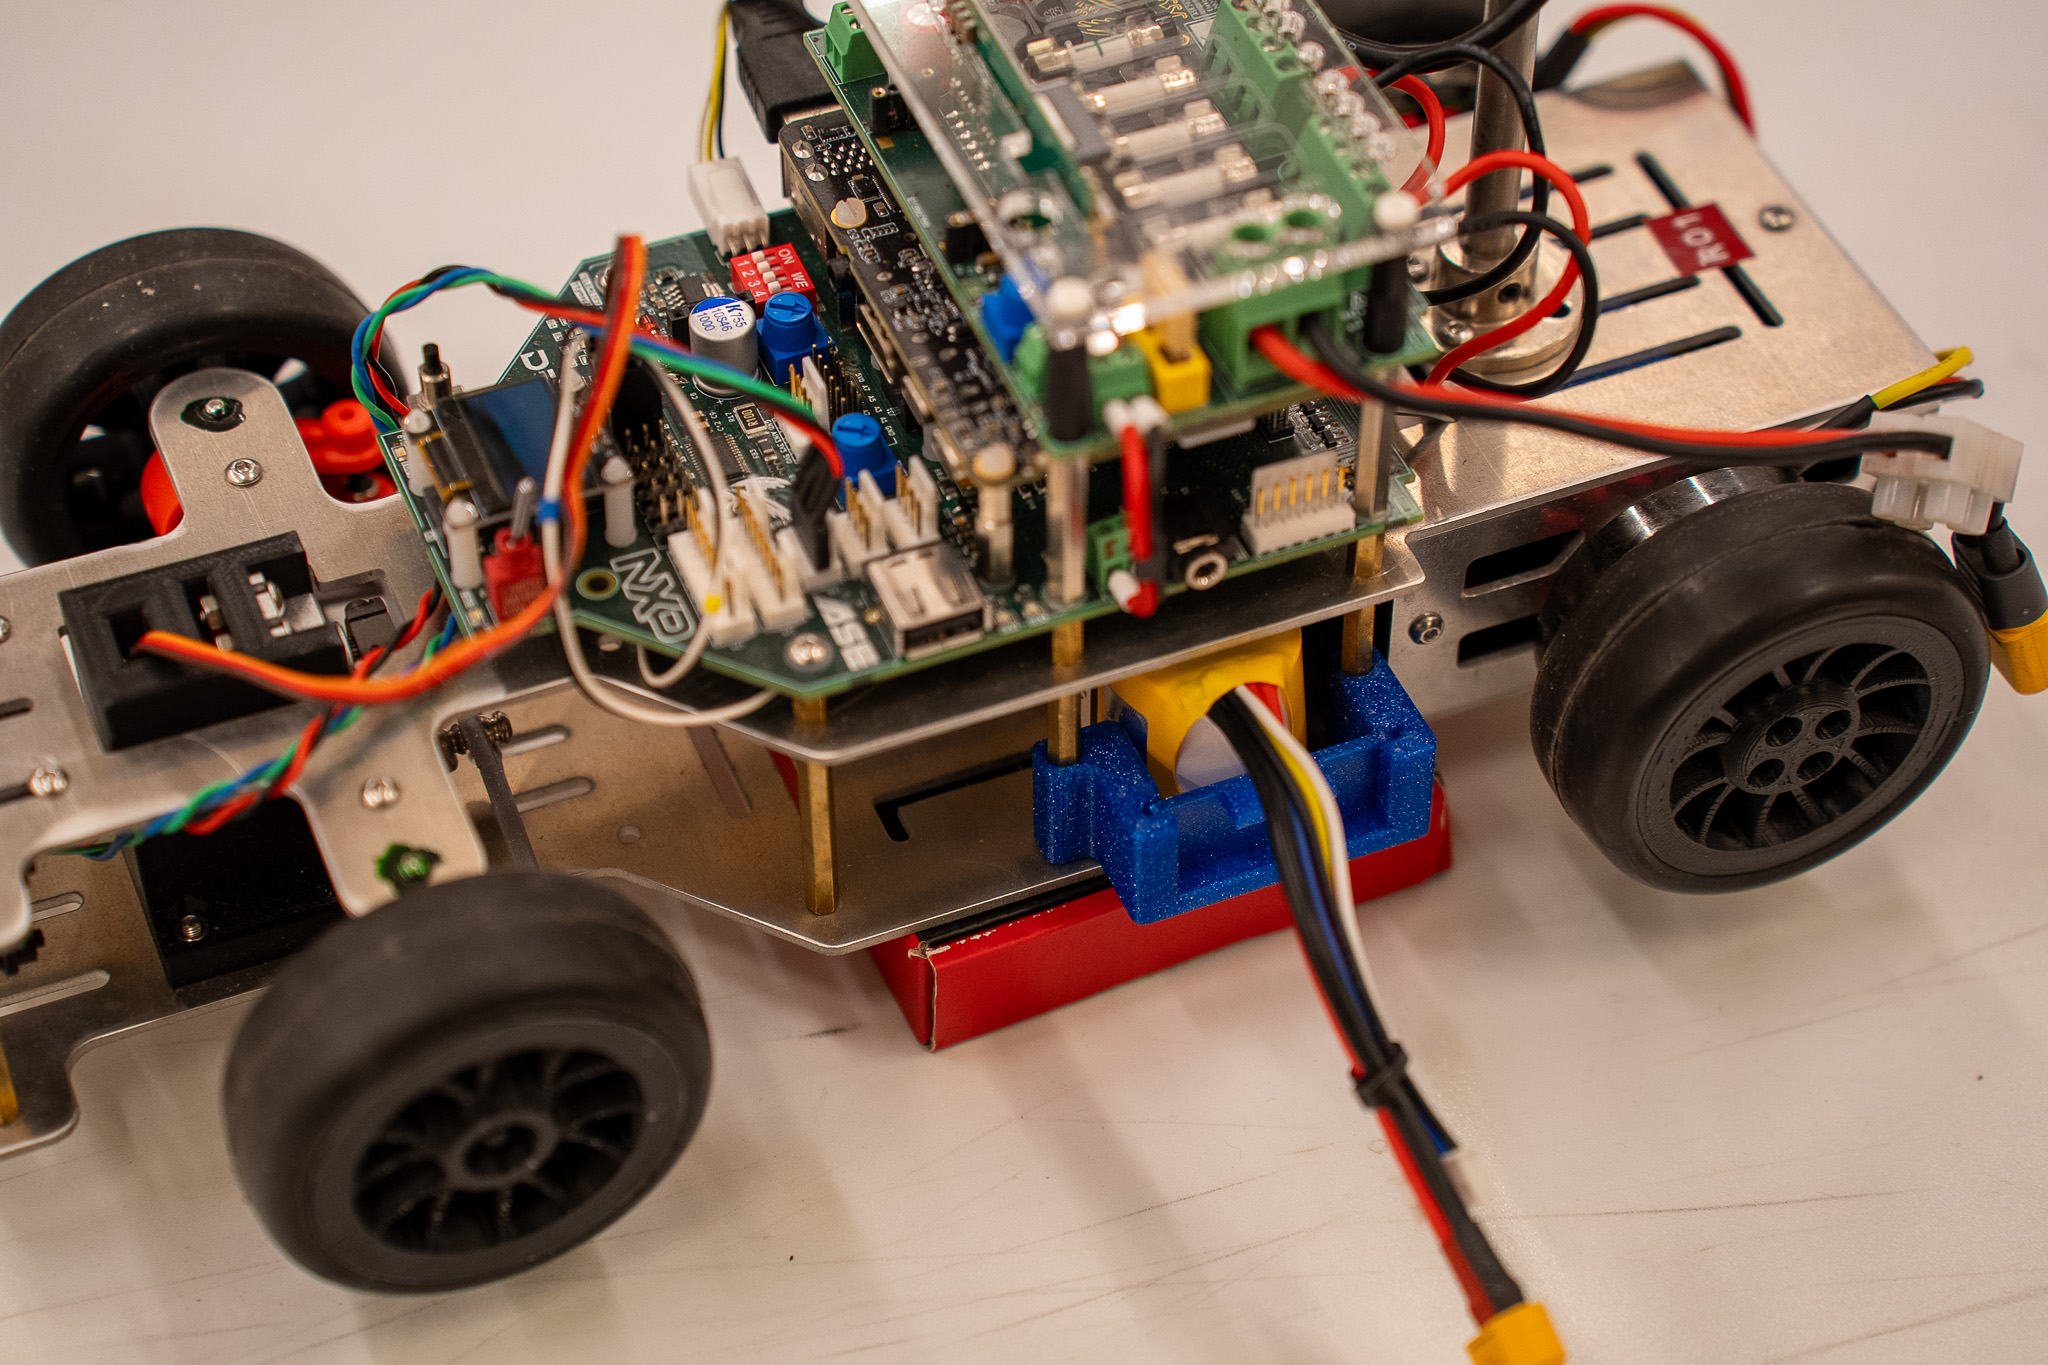
4 Put back the battery door
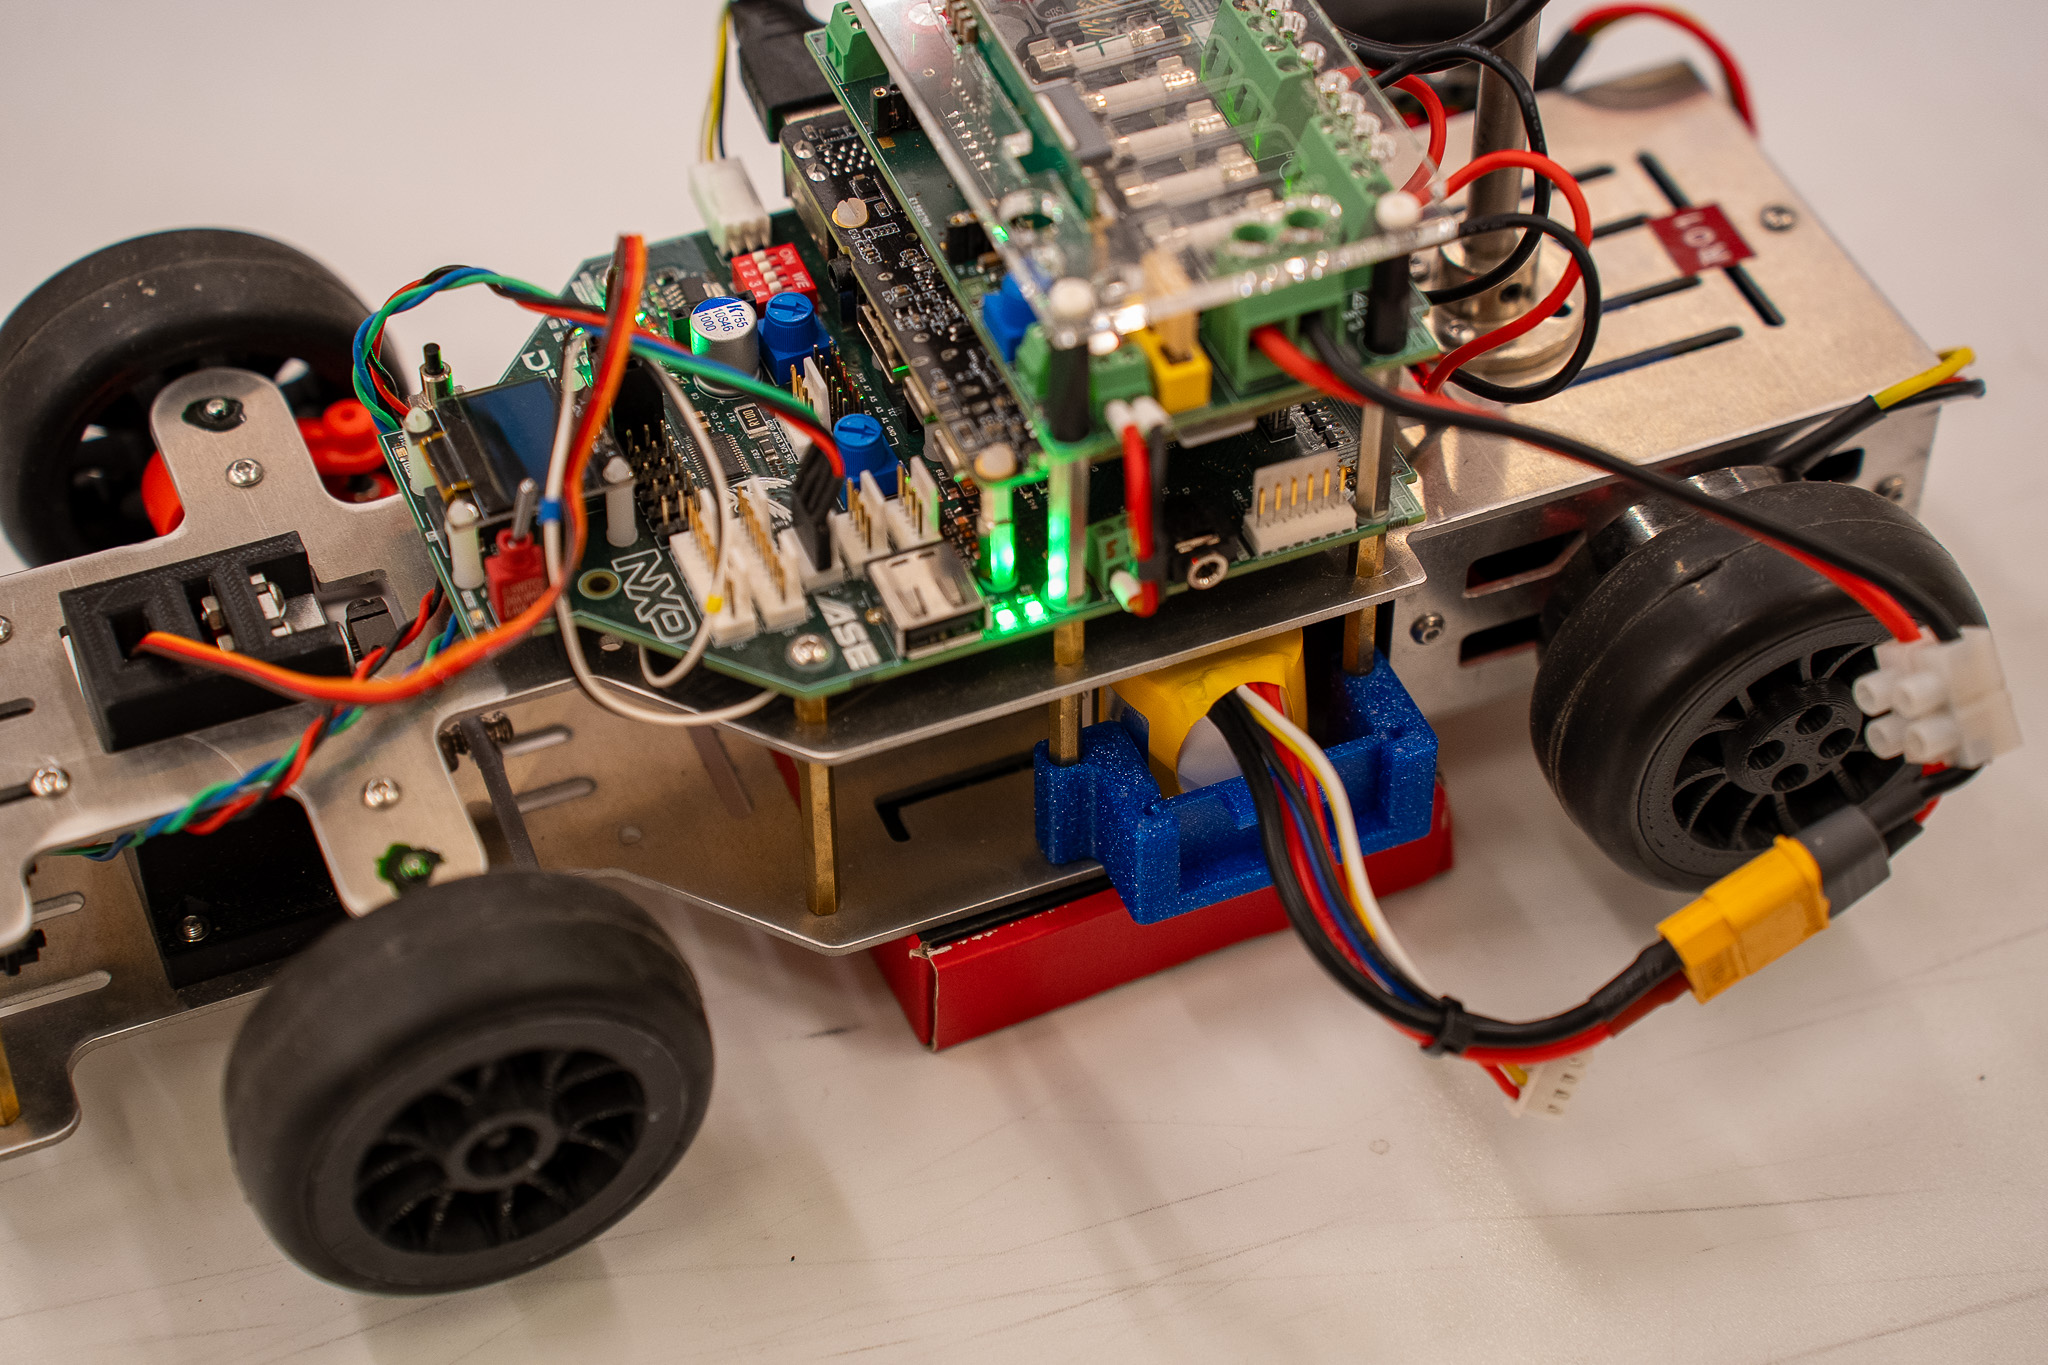
5 Connect battery cable
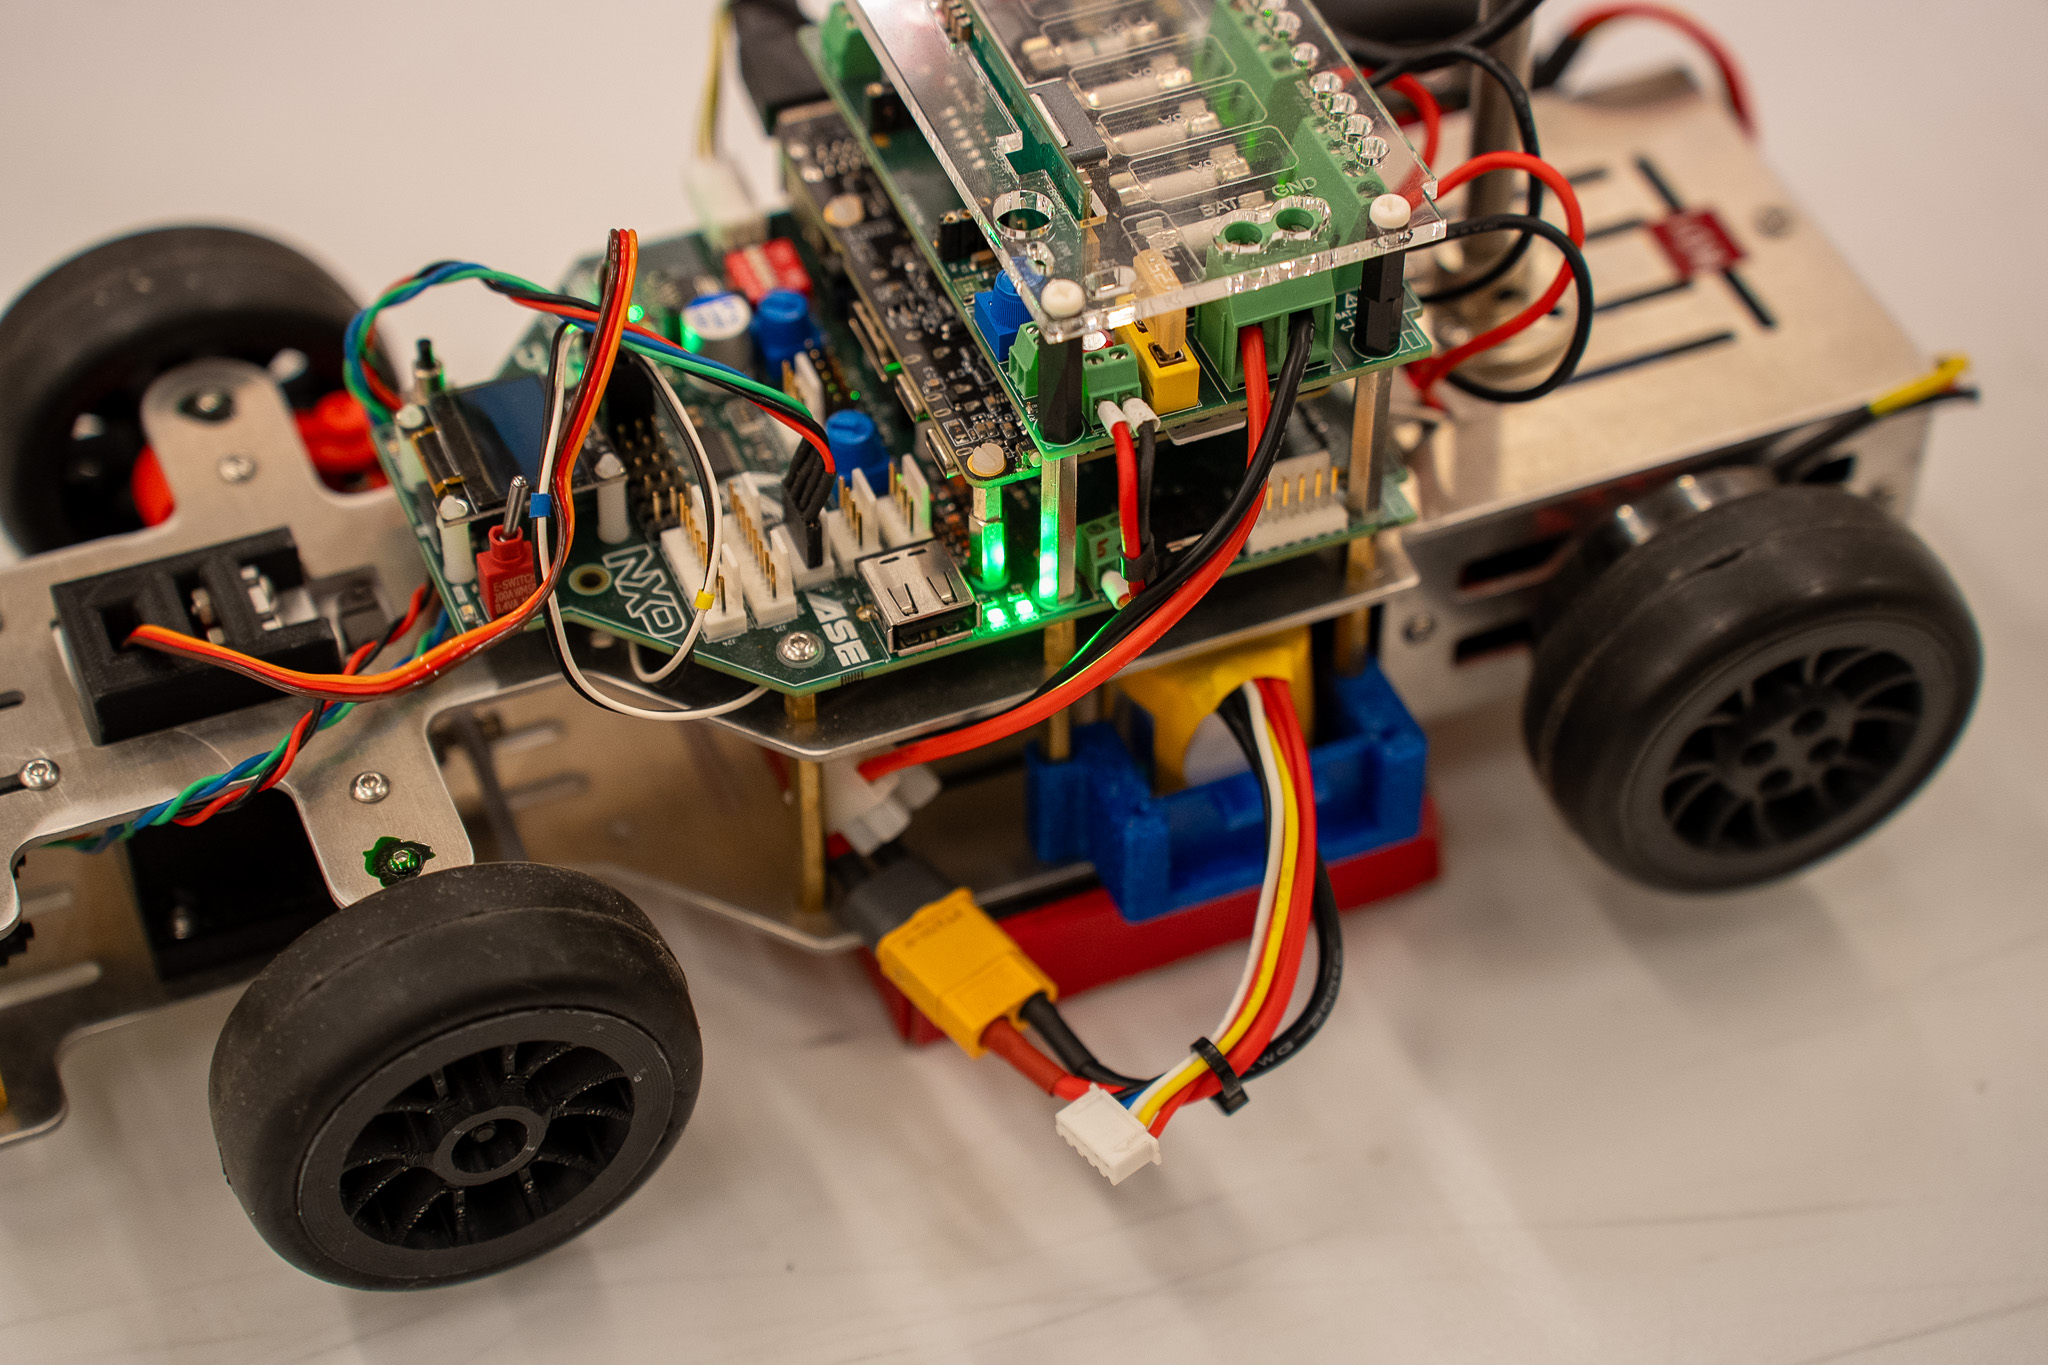
6 Make sure cables don't hit the floor
Plug in the battery connector into the board connector. As soon as the battery is connected, various green lights will turn on on the board and the motor calibration process will start. Do not touch or obstruct the wheels during calibration, which typically takes 8 to 10 seconds.
After calibration, always check the rear wheels by putting light force on them. The wheels should be in braking mode, trying to preserve their position continuously. If the rear wheels can spin freely, calibration failed and you should disconnect power immediately.
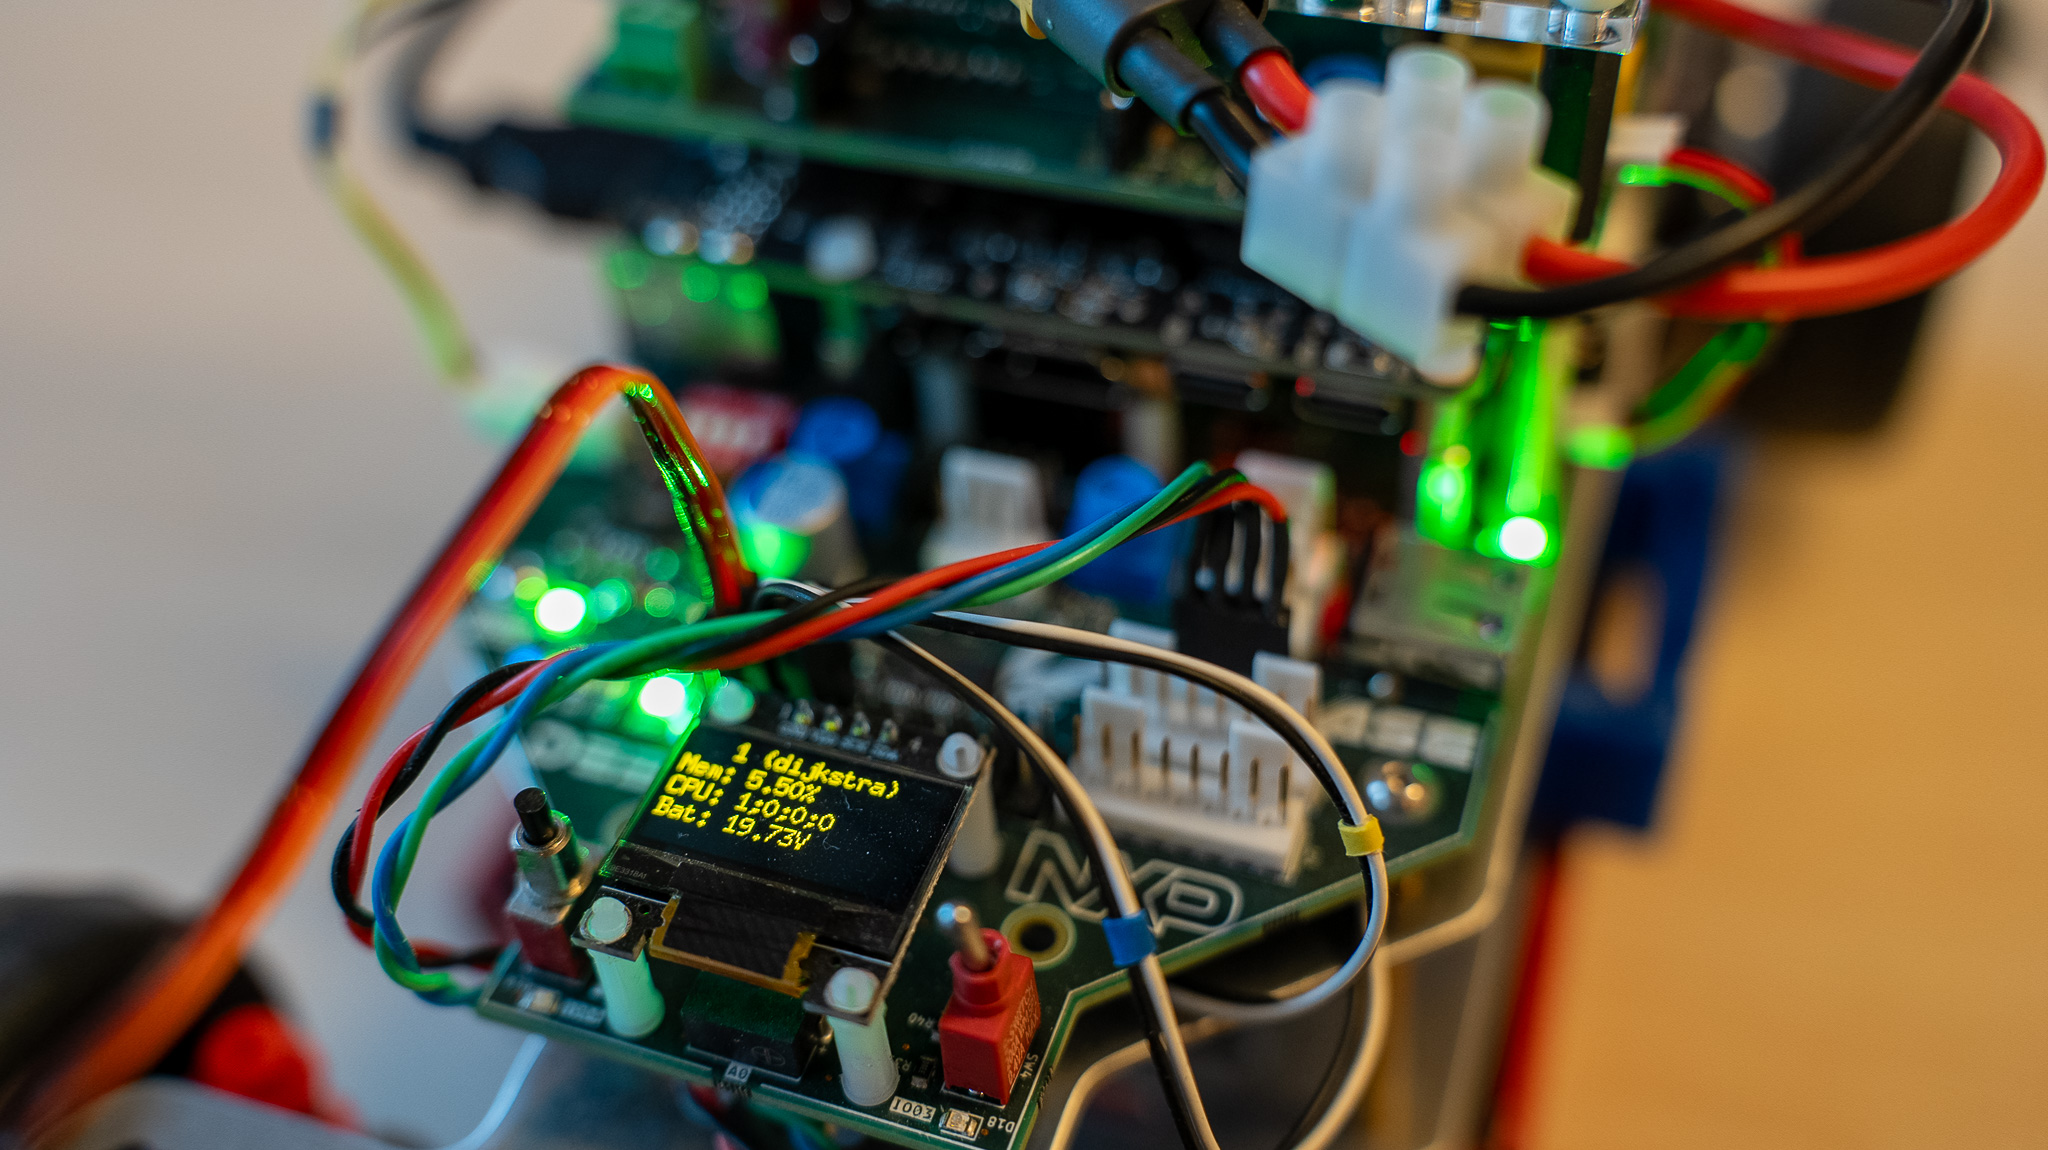
After ~15 seconds, you will hear a beep, indicating that the Debix booted. Check if the display at the front of the Rover shows the battery voltage and notice that each Rover has a unique name - useful when you are working with multiple Rovers.
If you won't be driving around with the Rover, but just want it powered on the desk, there are modified laptop chargers which can be plugged into the wall. Find them by the battery charging station.