Run a Pipeline
At ASE we rely heavily on the concepts of services that run together in a pipeline. You can build any pipeline you want, using services in any language you want. By interfacing with official services provided by the ASE team, you can build useful pipelines quickly. To drive a lap, we will install and run the basic autonomous driving pipeline.

Elias Groot
Founding Member, Ex-Software Lead and Ex-Project Administrator

Max Gallup
Founding Member, Ex-Hardware Lead and Ex-Project Administrator
Prerequisites
- You are connected to the ASE network
- You have
roverctland Docker installed - The Rover is powered on and put on NXP cup tracks
Ping the Rover
First - to double check - query information about your Rover using roverctl by specifying your Rover's index (you will need this in almost every roverctl command).
# Fetch information about Rover 3 (replace with your Rover index)
roverctl info --rover 3
# Or, shorthand
roverctl info -r 3
# Or, by IP
roverctl info --host 192.168.0.103
So far, so good. The Rover is up and running. Check that the name on the display of the Rover matches with the name that roverctl returns. If it doesn't, you are using someone else's Rover!
Start roverctl-web
To manage services and pipelines, roverctl-web will be your most important tool. To start it, run roverctl, again specifying the Rover index.
# Start the web interface for Rover 3
roverctl --rover 3
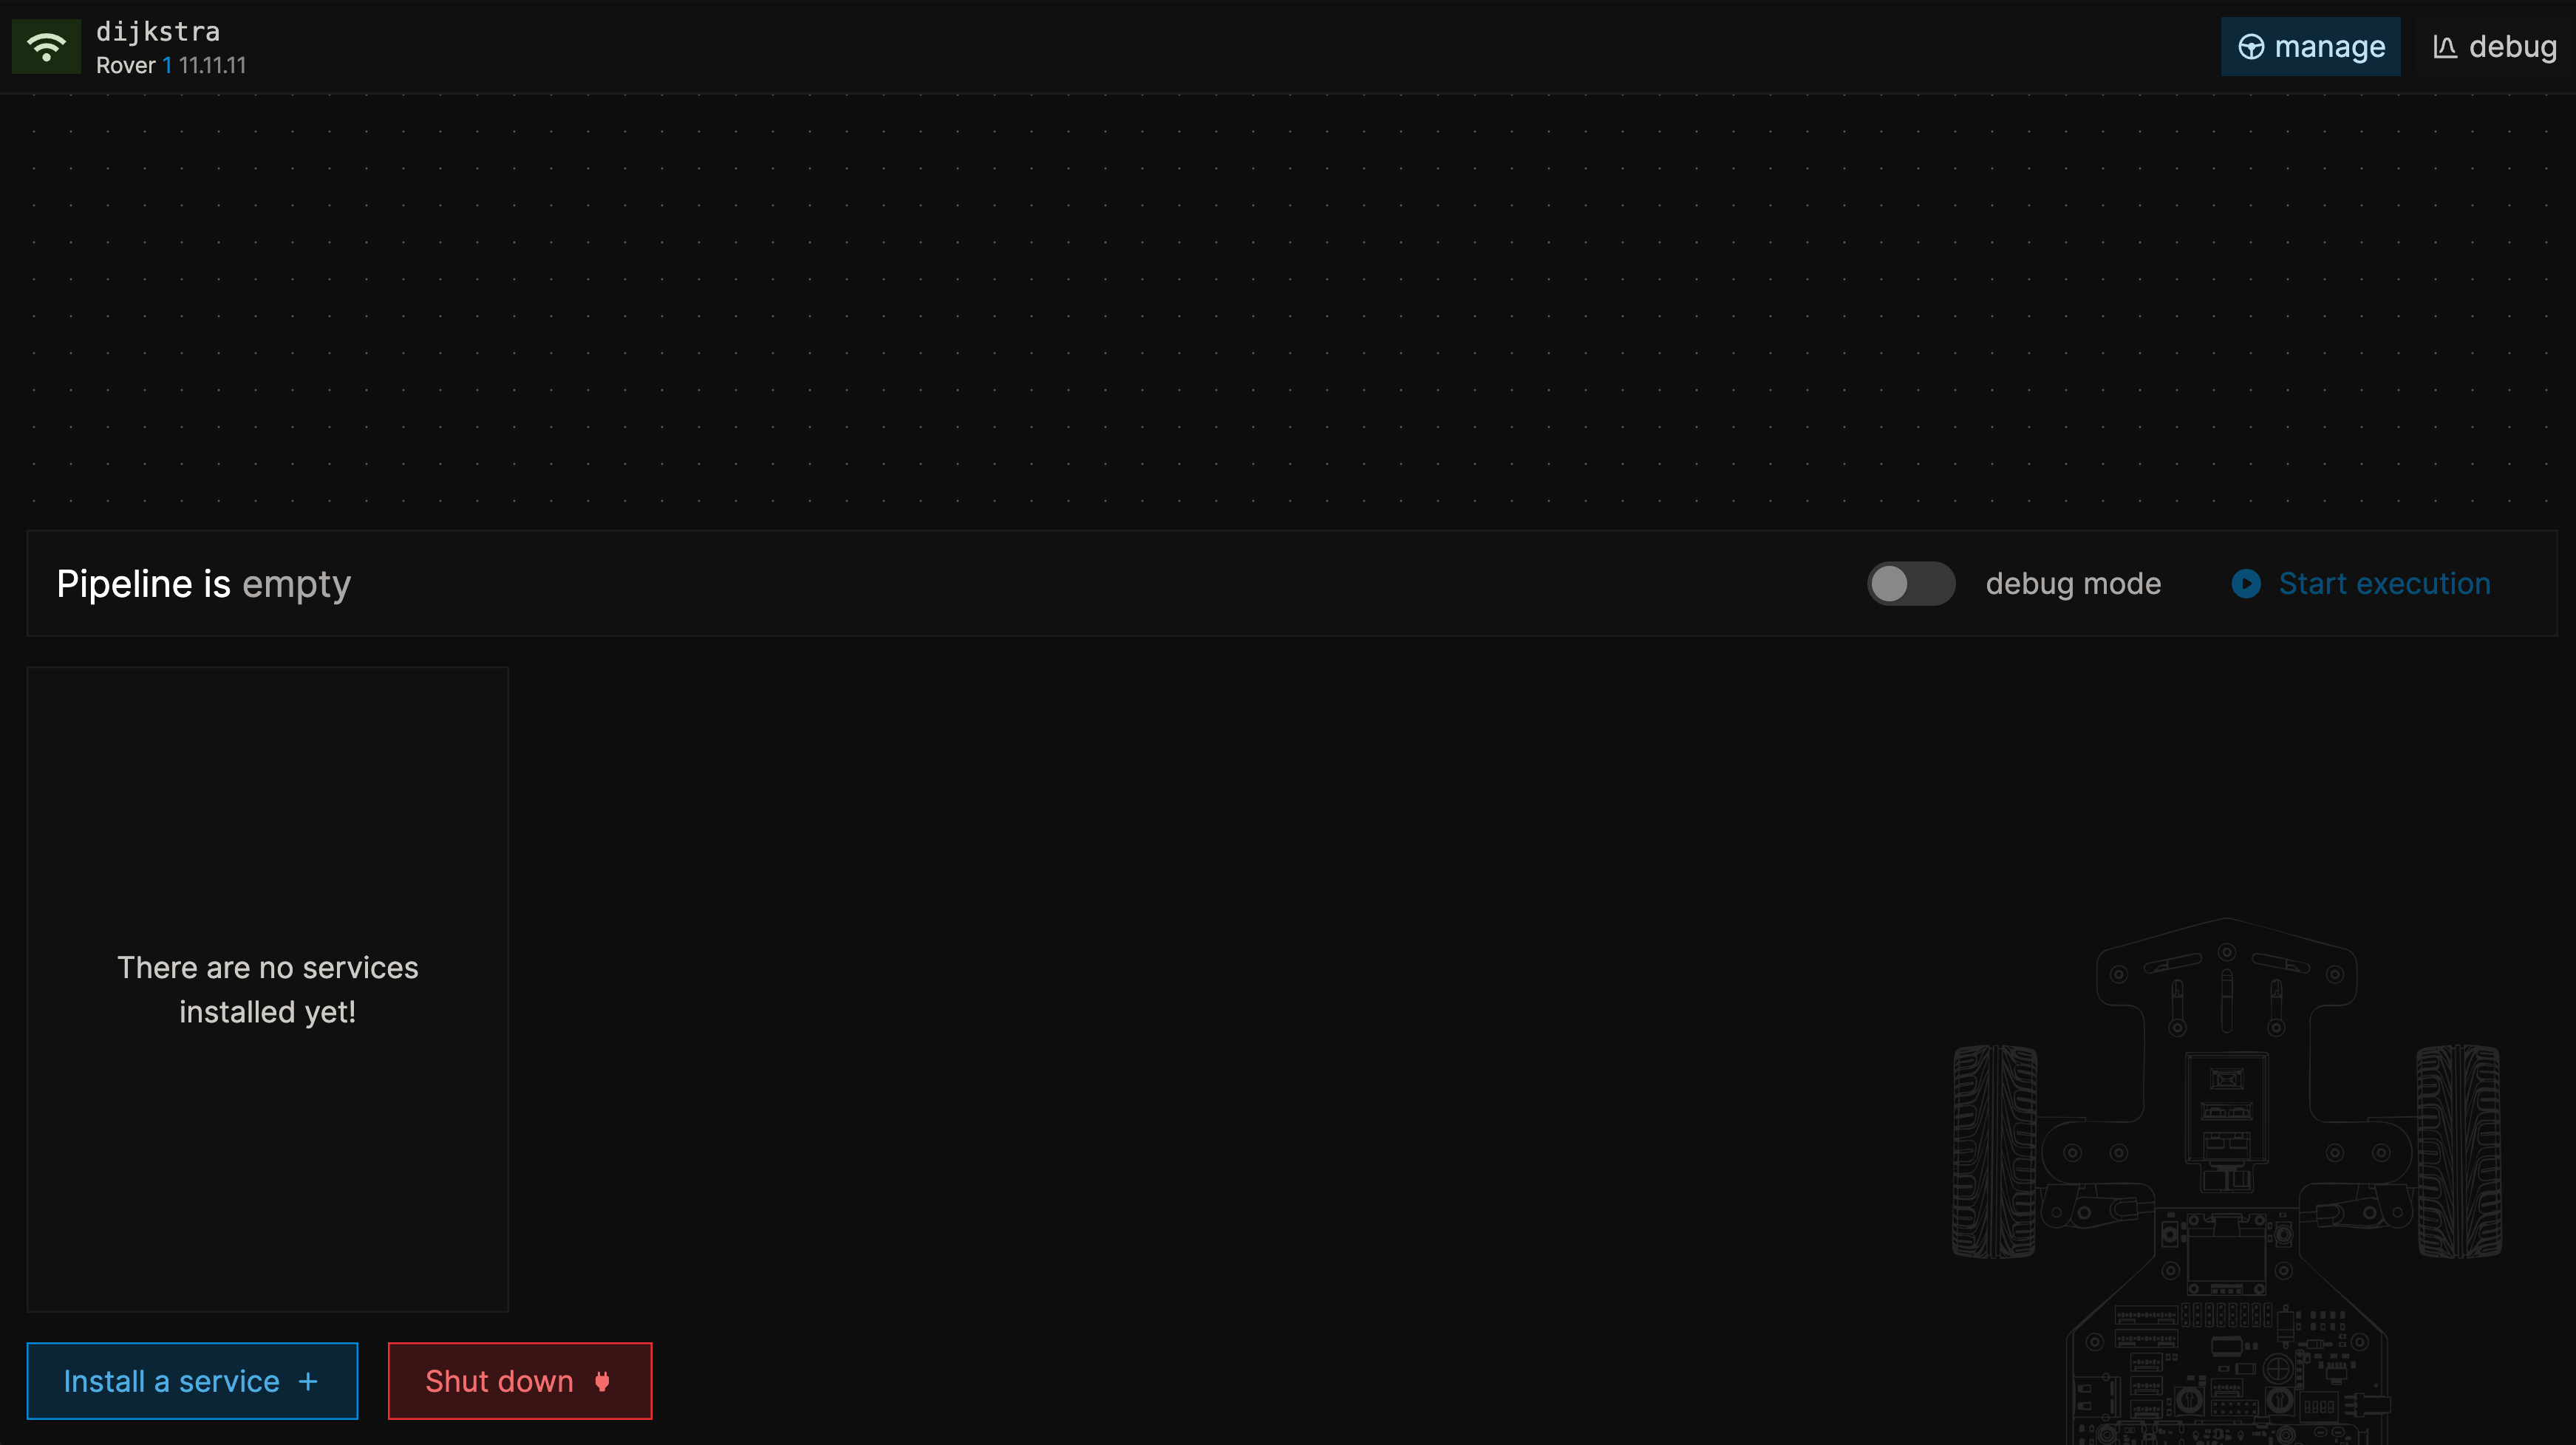
The web interface will be opened in your browser. Go through the listed dangers and make sure you understand them. Then, go to the manage page. You will find an empty pipeline.
Install the Basic Pipeline
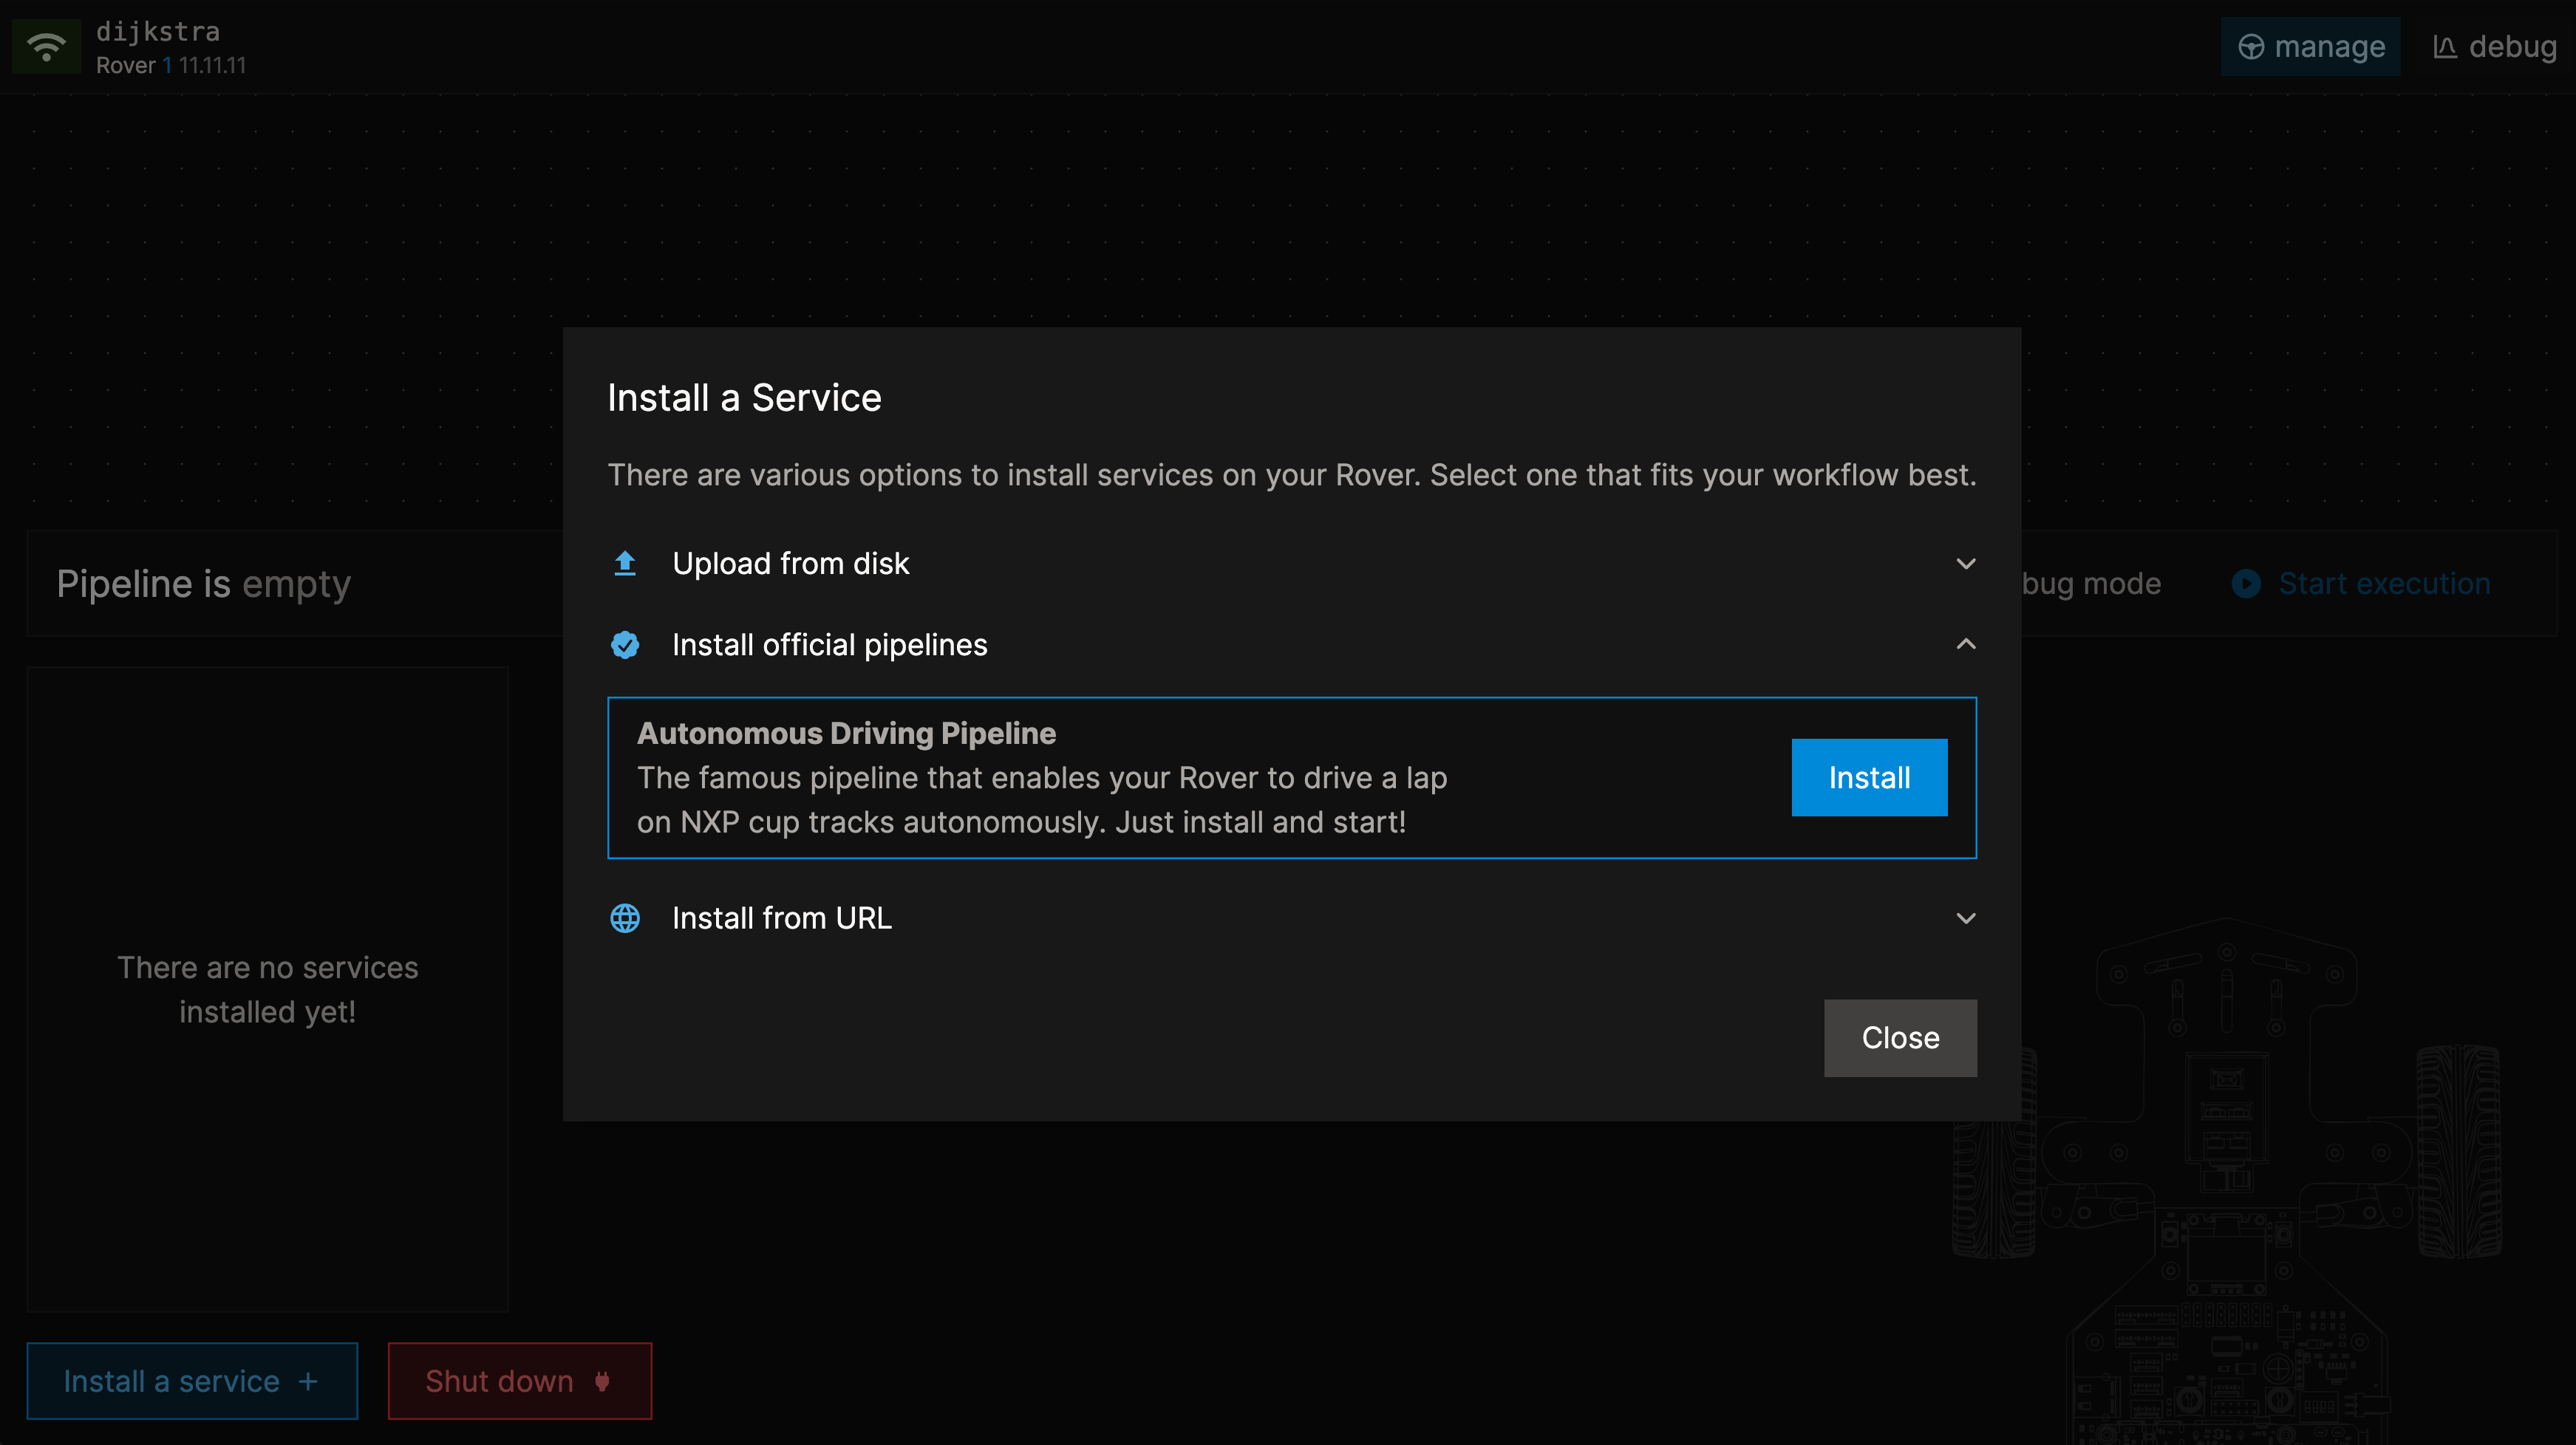
Now the idea is that you develop services that can interface with other services. A service can be any valid Linux process, such as a Python program, C binary or bash script. There are no such services installed yet, but to get started with a basic lap, you can install the default "Autonomous Driving Pipeline" services provided by ASE. Click "install a service" in the left bottom and install the pipeline.
After installation, the services appear in the left panel and can be enabled with the checkbox. Though before you do so, the Rover needs to be calibrated.
Calibrate the Rover
Put your Rover on its stand. Return from your browser to your terminal for a second (you do not have to close roverctl-web, opening a new terminal will work just fine) and run the roverctl calibrate command, specifying the Rover index again.
# Calibrate Rover 3
roverctl calibrate --rover 3
Your terminal will install the necessary calibration services and then turns into an interactive shell that you can use to calibrate the Rover. Specifically, you need to calibrate the servo motor that the Rover uses to steer: it should center the front wheels when we ask it to steer straight.
Use the ← and → key to move the front wheels in the right direction until it steers straight. Use the ↑ and ↓ keys to change the delta when steering left and right. The front wheels will twitch back and forth on every calibration step.
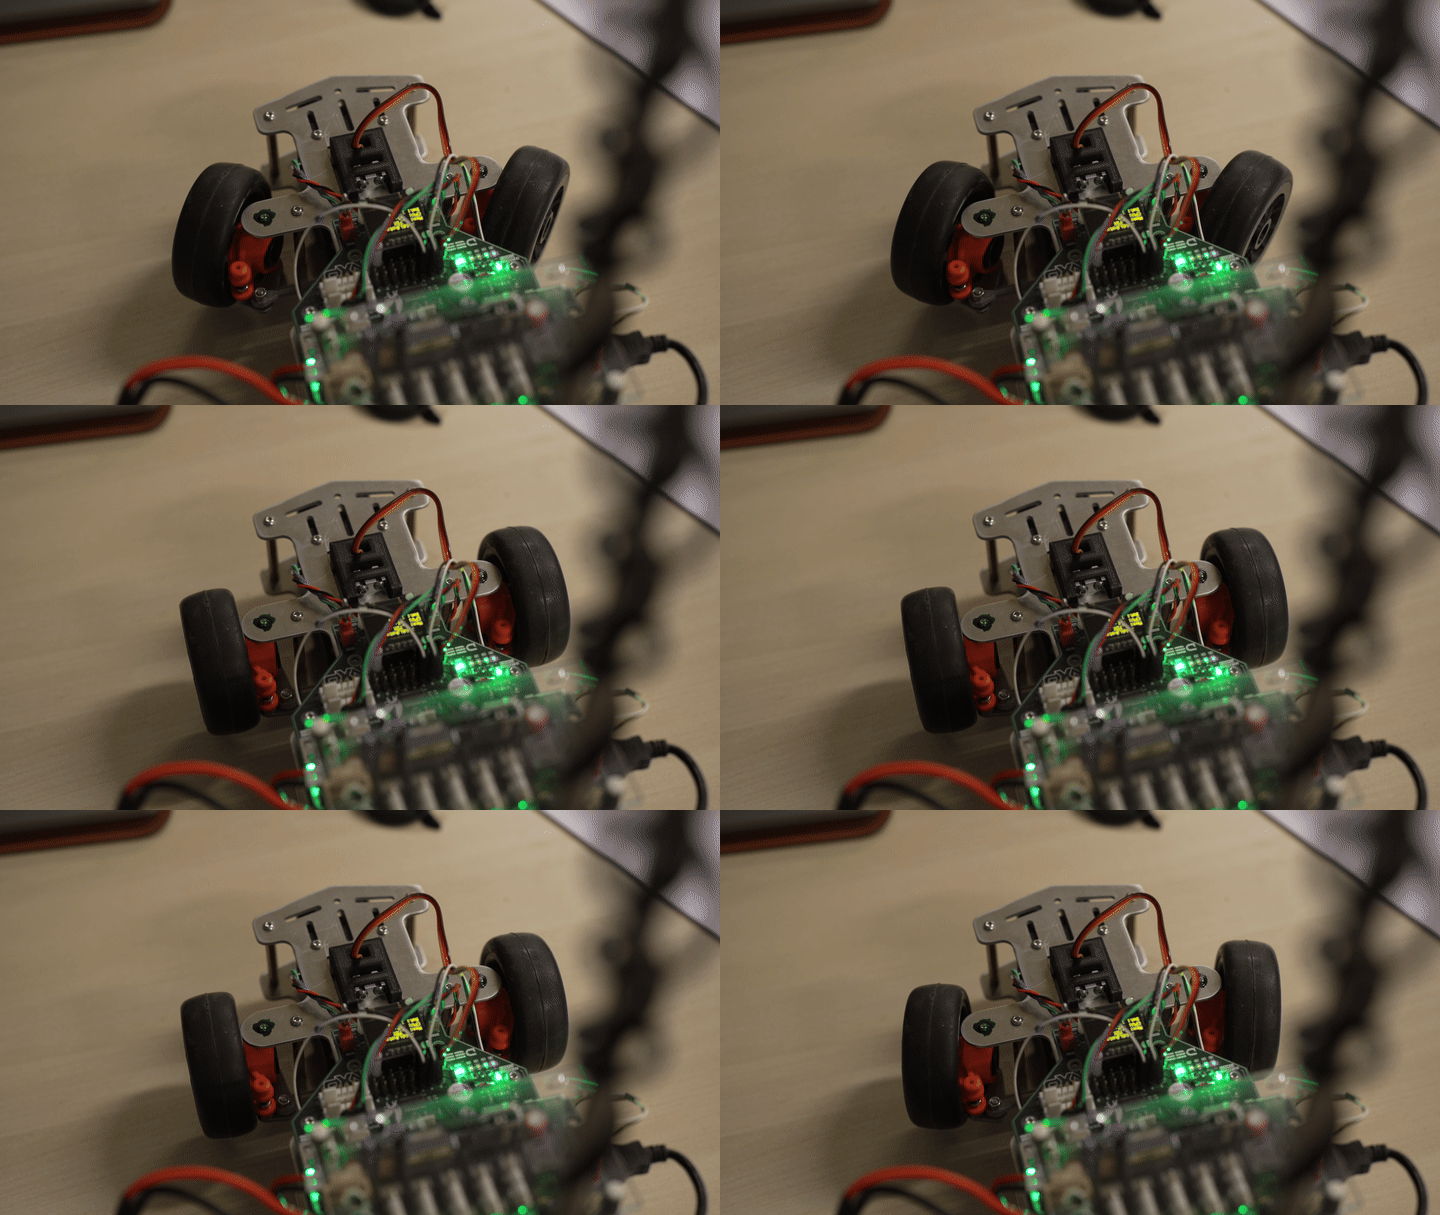
When you are done, press q. The calibration is now saved!
If you install a new actuator service, you will need to recalibrate the Rover.
Start the Pipeline
Open roverctl-web again in your browser. Open the manage page and view the installed services in the left panel. You can click on a service to show which specific versions are installed and enabled.
Now, enable all services in the basic pipeline ("imaging", "controller" and "actuator"). Do you see how data flows from left to right?
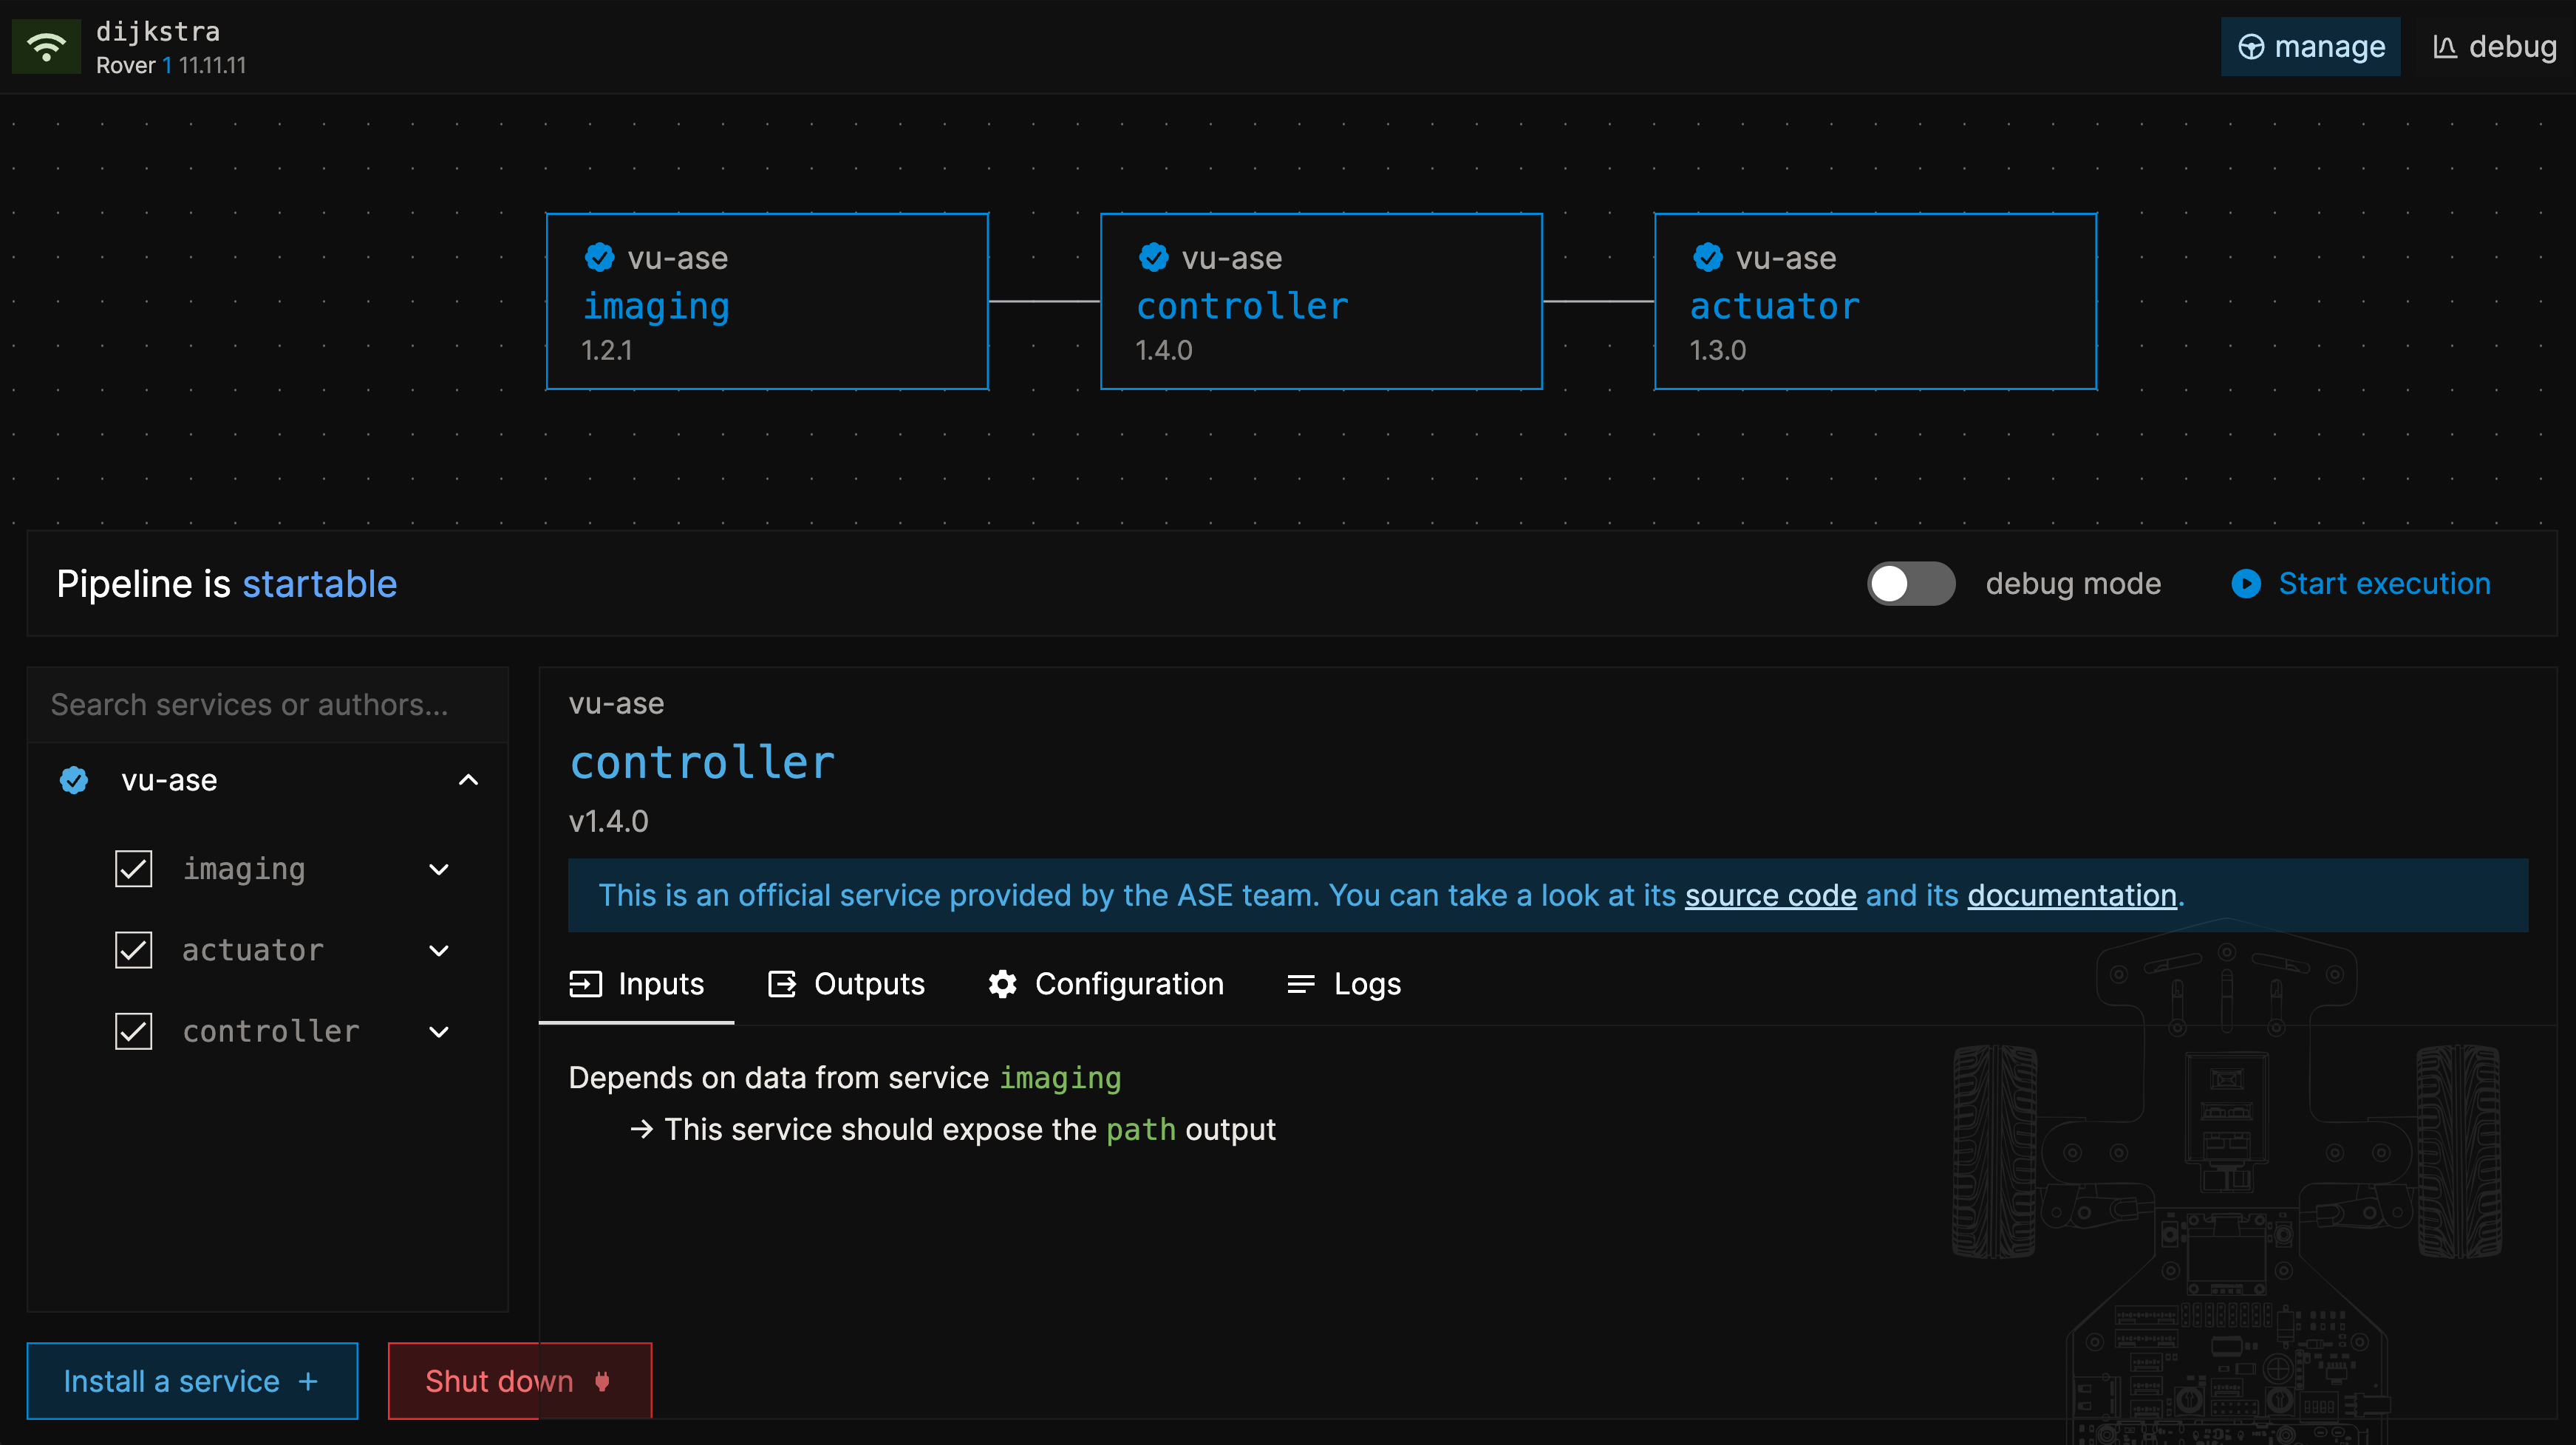
Make sure the Rover is put on the track and press "start execution". The Rover will start driving a lap. Easy right?

Stop the pipeline by pressing "stop execution" or pressing ctrl/cmd + s. If you lose control over your Rover, you can also use the ctrl/cmd + e command for an emergency reset - this is a handy kill switch if you are afraid of running a Rover into the wall.
Now you've interacted with your Rover on a basic level, we will customize its behavior and gradually go more in depth.
roverctlInstead of stopping the pipeline by pressing "stop execution" you can also use the roverctl pipeline stop command.
In general, for many interactions in roverctl-web, an alternative CLI command exists in roverctl because functionality is provided by the roverd REST API. You can find a list of all commands and example usage here.